How to Extract Cold Brew Coffee (Ratios, Time, and Gear)
Updated 2026-08-21
Cold brew isn’t “iced coffee.” Iced coffee is hot-brewed coffee poured over ice: it inherits all the acidity and heat-extracted bitterness of a normal brew, just cold. Cold brew is a completely different extraction: coarse grounds steeped in room-temperature or cold water for many hours, with no heat involved at all. Heat is what pulls acidic and bitter compounds out fast; without it, extraction is slow and selective, which is why cold brew tastes smoother and noticeably less acidic.
The variables that actually matter
Grind size: coarse, always. Coarser than French press. Fine grounds in a long steep over-extract and turn muddy/bitter, and a fine grind also makes straining a genuine pain. See our grind size guide for what “coarse” looks like next to other methods.
Ratio: start at 1:4 for a concentrate. 1 part coffee to 4 parts water by weight steeps into a concentrate you dilute later: typically 1:1 with water or milk to drink. Some people brew straight to drinking strength at 1:8, but a concentrate keeps in the fridge for up to two weeks and lets you make one batch cover a lot of mornings.
Steep time: 12-24 hours. 12 hours gets you a lighter, brighter result; 24 hours is fuller and stronger. Longer than 24 doesn’t keep improving it: it just tips toward bitter and stale-tasting. Room temperature steeps slightly faster than steeping in the fridge; both work.
Water: room temp or cold, never hot. That’s the entire definition of the method: introducing heat at any point turns this into iced hot-brew instead.
The process
- Coarse-grind your coffee. Weigh it: 1:4 concentrate means 100g coffee to 400g (about 400ml) water for a modest batch.
- Add grounds to your steeping vessel, then add the water, making sure all grounds get wet.
- Stir once to eliminate dry pockets, cover, and steep 12-24 hours at room temp or in the fridge.
- Strain the grounds out: how you do this depends on your gear (see below).
- Dilute the resulting concentrate roughly 1:1 with water, milk, or over ice before drinking. Taste and adjust: this is the step people skip and then wonder why cold brew tastes “too strong.”
Gear, by how much you want to deal with
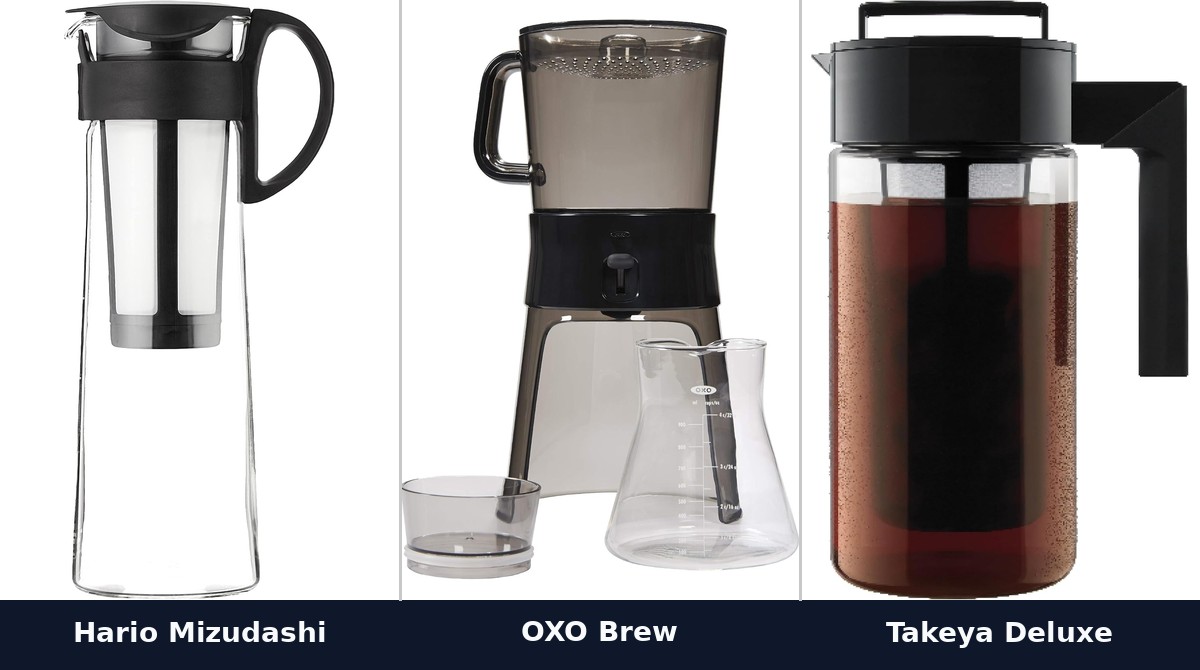
Hario “Mizudashi” Cold Brew Pot, 1000ml ($20.85): A glass carafe with a fine-mesh basket that hangs inside it. Add grounds to the basket, add water to the carafe, steep in the fridge, lift the basket out when done. Simplest possible mechanism, nothing to clog if you’ve ground coarse enough.

OXO Brew Cold Brew Coffee Maker, 32 oz ($39.80): A “rainmaker” top disperses water evenly over the grounds rather than dumping it in one spot, and a stainless ultra-fine mesh filter plus a brew-release switch drains the finished concentrate straight into the borosilicate carafe below it, no separate straining step.

Takeya Deluxe Cold Brew Coffee Maker, 1 Quart ($13.19): An all-in-one pitcher, grounds go straight into a fine-mesh filter insert inside the pitcher itself, so you steep and store in the same shatterproof, dishwasher-safe container. The simplest hardware option if you don’t want a separate carafe/basket setup at all.
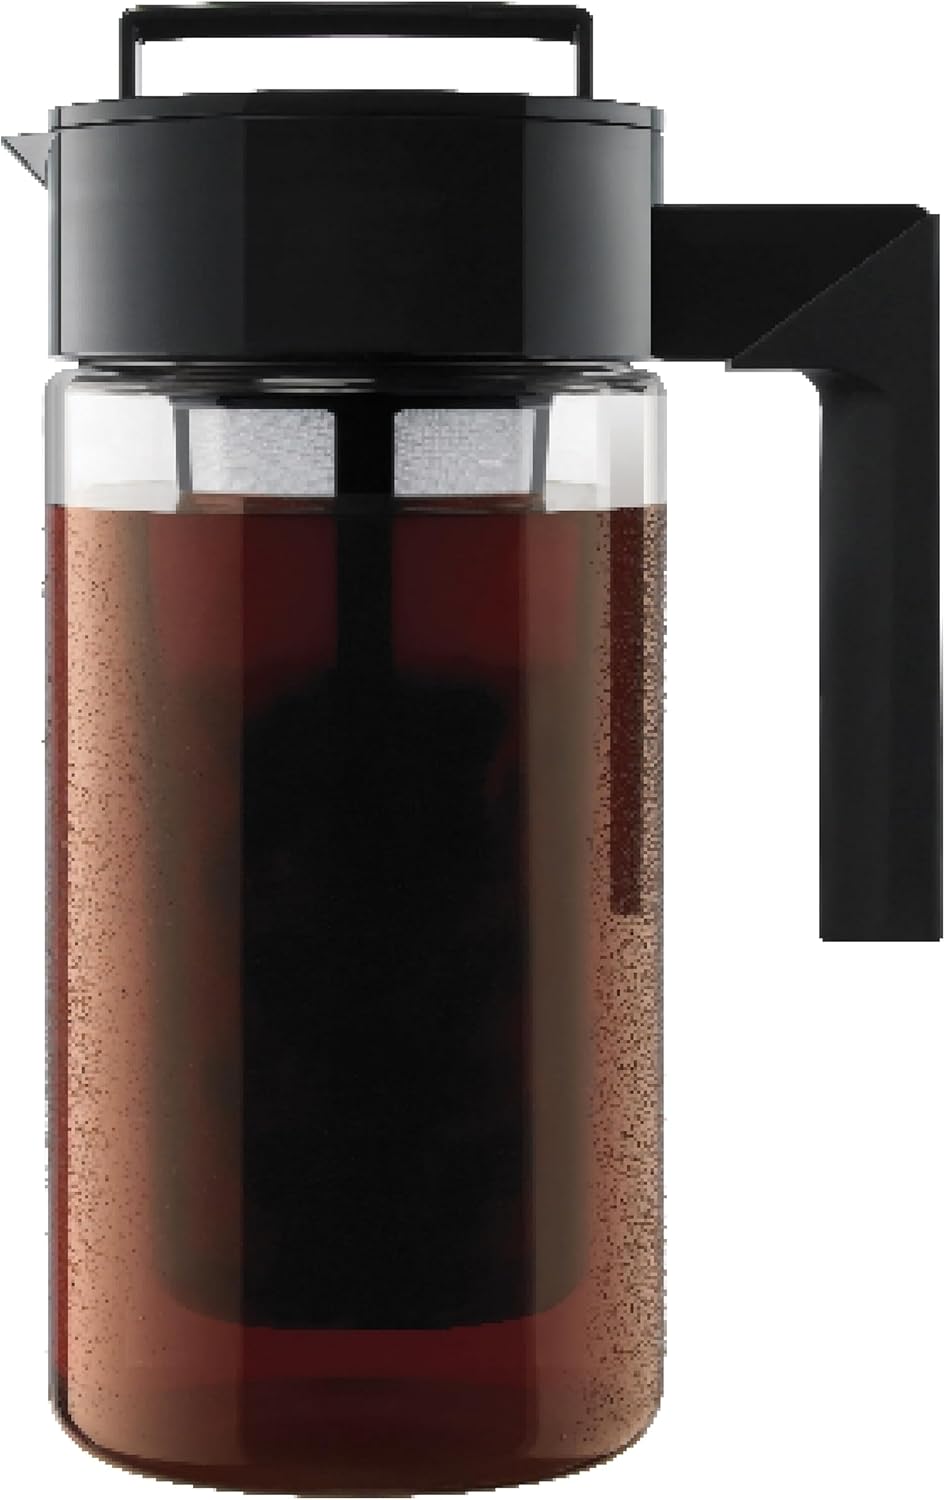
None of these need power, a subscription, or a proprietary pod: just time, which is the actual ingredient cold brew runs on.
🛒 Buy the Gear in This Guide
Hario "Mizudashi" Cold Brew Pot, 1000mlView on Amazon →OXO Brew Cold Brew Coffee Maker, 32 ozView on Amazon →Takeya Deluxe Cold Brew Coffee Maker, 1 QuartView on Amazon →As an Amazon Associate we earn from qualifying purchases, at no extra cost to you. Prices and availability are shown on Amazon's own product page, not here, since they change constantly.
🏠 Smart Home Picks
Same hobbyist care applied to your network and your front door.