CPU cooling: air, liquid, and passive compared
Updated 2026-09-30
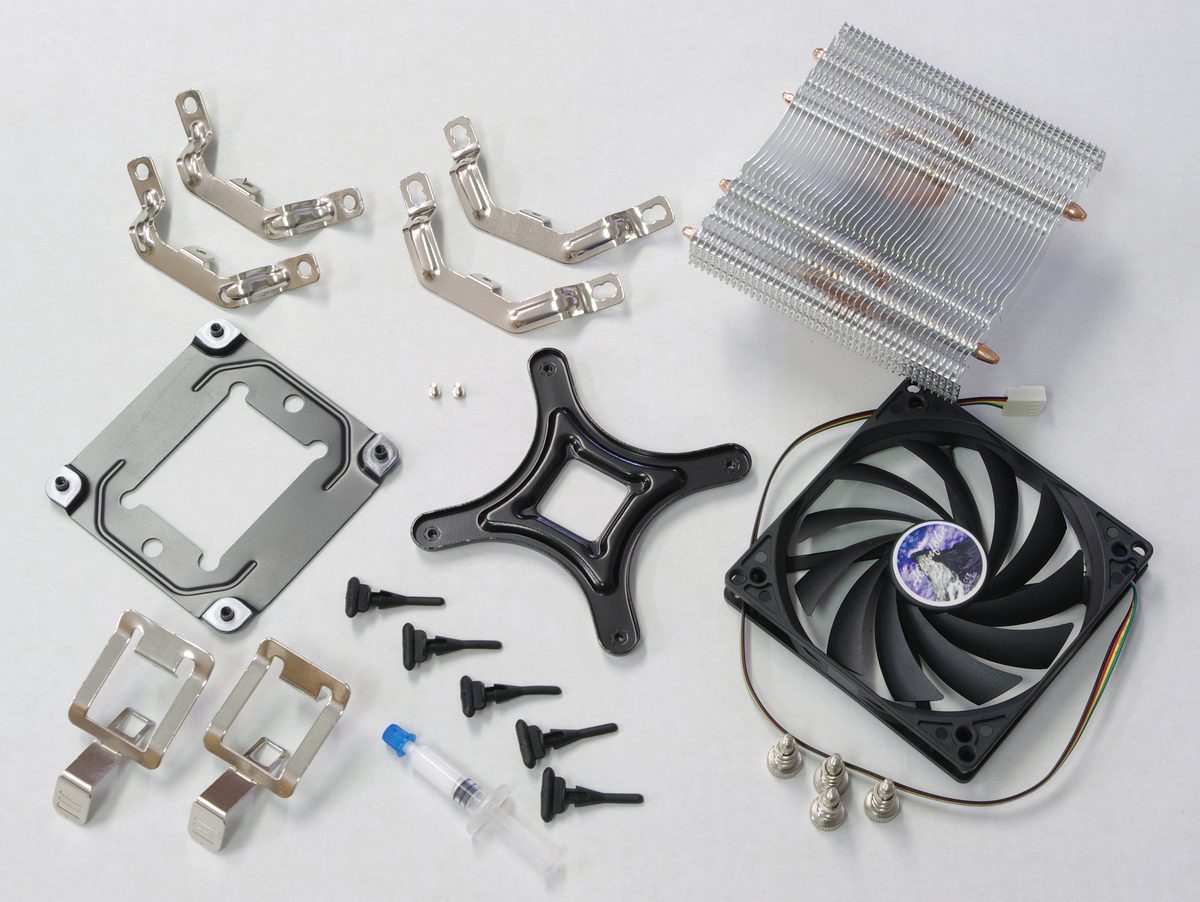
A quality air cooler is the right default for most builds: it’s cheap, reliable, and has nothing to leak or pump-fail. Liquid cooling earns its place on a genuinely hot, high-wattage chip or a build where the radiator placement matters more than an air tower’s footprint. The rest of this guide covers when each option actually makes sense.
Air coolers
A tower cooler moves heat away from the CPU through copper heatpipes into a stack of aluminum fins, then a fan pushes air through the fins. It’s the simplest cooling technology in a PC, and that simplicity is the whole case for it: no pump to fail, nothing to leak, and a lifespan measured in many years rather than a warranty window. The tradeoffs are physical, not reliability-related: a large air tower takes up real vertical space and can crowd tall RAM modules, and it runs somewhat louder than a well-tuned liquid setup under the same load.
Noctua and BeQuiet are the names most consistently cited for quiet, reliable air coolers; Thermalright has built a real reputation on budget-tier coolers that punch above their price. All three are reasonable starting points to compare when shopping.
All-in-one liquid coolers
An AIO moves the radiator away from the CPU socket: a pump circulates liquid through a block on the chip, out to a radiator (usually mounted with case fans), and back. The real advantage is thermal headroom on the hottest, highest-wattage chips, where a liquid loop’s larger effective radiator area gives it more margin than an air tower of similar cost. The tradeoffs are real too: a pump is a moving part with a finite lifespan, installation involves more steps than an air cooler, and case space for the radiator itself is a real constraint to check before buying, not after.
NZXT, Corsair, and EK all field well-regarded AIO lines at different price and feature points; RGB and software integration vary a lot between them and are worth checking against what a specific build actually wants.
Custom loops
A custom loop, built from a separate pump, reservoir, radiator, water blocks, and tubing, is the enthusiast end of liquid cooling: better thermal headroom than an AIO, real aesthetic customization, and real ongoing maintenance (periodic fluid changes) plus a genuine, if rare, leak risk. This is a project for someone who wants it as a project, not a default recommendation for a first build.
Passive cooling
A passive cooler is just a heatsink with no fan at all, relying on natural convection and case airflow to carry heat away. It’s silent by definition and has no moving parts to wear out, but it only works on genuinely low-power chips, and it depends entirely on the case around it having real airflow of its own. Not a fit for a gaming build or anything that sustains load for long stretches.
Reading CPU temperatures
Rough guidance that holds across most consumer chips: comfortably under 80°C at sustained full load with a properly-mounted cooler is a healthy result. Temperatures climbing into the high 80s under load are worth monitoring rather than ignoring. Hitting or approaching a chip’s rated maximum (typically in the 95-100°C range, check the specific chip’s own spec) means the CPU is thermal-throttling to protect itself, and it’s time to look at the cooler, the case airflow, or the thermal paste application, not push through it.
Exact numbers for a specific chip and cooler combination depend on ambient temperature, case airflow, and the individual chip, more than any single guide can predict precisely. Treat published temperature charts, including this guide’s own general ranges, as a sanity check, not an exact prediction for a specific build.
Installation, briefly
An air cooler installs in a handful of straightforward steps: backplate, thermal paste, mount the cooler, connect the fan. It’s forgiving of minor mistakes. An AIO adds real steps: mounting the pump block correctly matters more than it does for an air cooler, the radiator needs a confirmed mounting spot before starting, and there are more connections to get right. A custom loop is a genuine multi-hour project with real room for error, appropriate for someone building it as much for the process as the result.
Thermal paste
Yes, it’s necessary. A pea-sized dot in the center of the CPU, or a thin line across the middle, spreads adequately when the cooler mounts; more doesn’t help and can trap air pockets instead. It’s worth replacing every few years, since it dries out over time, or any time a cooler gets reseated. Reputable brands (Arctic and Noctua both make well-regarded, inexpensive options) are effectively interchangeable in practice; this isn’t a category where the premium option meaningfully outperforms a solid budget one.
Common mistakes
Too much thermal paste doesn’t help and can trap air pockets instead of conducting heat. Forgetting it entirely risks real chip damage. Blocking airflow around the cooler, with cables or a cramped case, defeats whatever the cooler is capable of. A cooler mounted backwards or misaligned won’t make proper contact with the chip at all. And a cheap AIO from an unproven brand is a real risk specifically because a pump failure takes the whole cooling solution down with it, unlike an air cooler’s more gradual, predictable aging.
Verdict
For most builds, a quality air cooler is the right default: reliable, simple, and quiet enough for nearly any use case. Move to an AIO for a genuinely hot, high-wattage chip or when case layout favors moving the radiator away from the socket. Save a custom loop for when the build itself, not just the cooling, is the project. Whatever the choice, don’t undersize it: cooling is not the place to cut a build’s budget.
☕ Coffee Corner
Compiling, deploying, or waiting on a render? Here's what to brew while you wait.

🏠 Smart Home Picks
Same hobbyist care applied to your network and your front door.